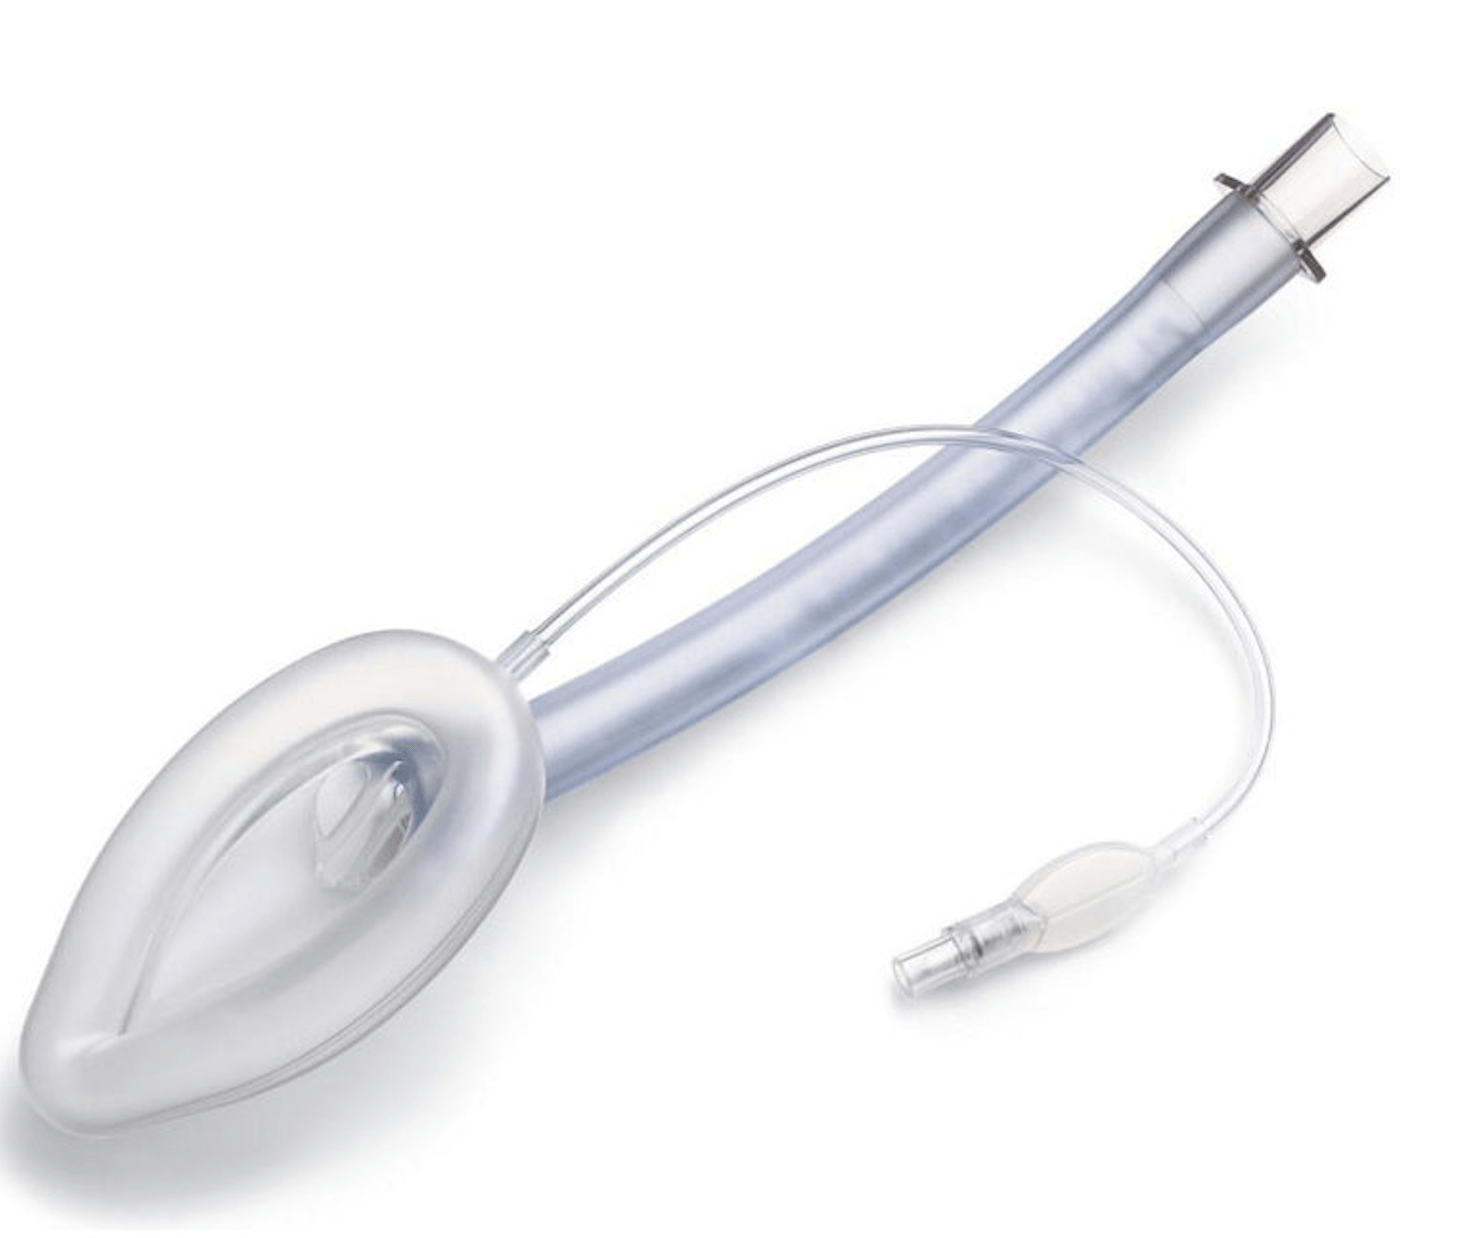
Procedure for Placing a Classic Laryngeal Mask:
- Apply protective equipment (gloves, goggles, face mask).
- Select the appropriate size of the laryngeal mask (sizes 3, 4, and 5 for adults).
- Check the mask for any physical and mechanical damage.
- Check the integrity of the cuff by inflating it with the maximum amount of air.
- Fully deflate the cuff.
- Apply a lubricant to the back side of the cuff.
- Position yourself above the patient’s head.
- Pre-oxygenate the patient with 100% oxygen for 2 minutes.
- Position the patient’s head in a similar position to that for intubation (maintain a neutral head and neck position if a spinal injury is suspected).
- Hold the mask with the dominant hand like a pencil, with the index finger at the junction of the tube and the cuff.
- Insert the mask into the oral cavity with the opening facing forward, sliding the back along the palate.
- Move the tip past the upper incisors with the top surface against the palate until resistance is felt when the tip of the mask touches the esophageal sphincter.
- Ensure the tip of the mask does not fold over.
- Remove the finger used to insert the mask from the oral cavity and hold the mask close to the mouth with the other hand.
- Inflate the cuff with the appropriate amount of air (size 3 with 20 ml of air, size 4 with 30 ml, size 5 with 40 ml).
- During inflation, the mask will seat itself into the correct position.
- Verify the effectiveness of placement and ventilation by auscultation and observing chest movement.
- Placement time is 30 seconds; if unsuccessful, remove, re-oxygenate, and repeat the procedure.
ADVANTAGES:
- Simplicity of the procedure
- Better ventilation compared to mask ventilation with a self-inflating bag


0 Comments