Basic life support procedures
- Check for safety before approaching an injured person. Determine if there are any hazards such as fire, landslides, floods, hazardous gases, etc.
- Assess the injured person’s consciousness by gently shaking both shoulders and asking loudly, “Can you hear me?”
- If the person answers:
- Leave it in the position in which you found it.
- Find out what happened and assess whether you need to call for emergency medical help.
- Continuously monitor the injured person until help arrives.
- If there is no response to your call and stimuli:
- Get someone’s attention and call for help.
- Turn the injured person on his back.
- Open the airway by tilting the head slightly and lifting the chin (use one hand to hold the forehead and the index and middle fingers of the other hand to lift and tilt the lower jaw).
- Check breathing and signs of life within 10 seconds:
- Maintain an open airway.
- Lean over the injured person’s face while watching for chest movement (watch for chest rise and fall if visible).
- Listen for breath sounds.
- If you feel any air flow, which would indicate the person is breathing.
- You are continuously looking for signs of life.
- If the person is breathing normally:
- Place it in a stable lateral position.
- Call emergency medical assistance at number 194.
- Continuously monitor the injured person until the arrival of professional medical help.
- If the person is not breathing normally:
- Send someone to call 194 for emergency medical help.
- Notify the emergency services of the location of the incident and provide the necessary details.
- If you are alone, go get help or make a call and then come back.
- Start cardiopulmonary resuscitation (CPR).
- Start with chest presses:
- Reveal the person’s chest.
- Kneel next to the person with their shoulder between your knees.
- Identify the position on the chest for pressures (place the heel of the hand in the center of the chest, which corresponds to the middle of the lower half of the sternum). Put your other hand on top, interlace your fingers.
- Make sure you apply pressure to the sternum, not the ribs.
- Perpendicular to the sternum, compress it at a speed of 100-120 pressures per minute, to a depth of 5-6 cm.
- Perform “hip” presses to reduce fatigue and improve the quality of chest presses.
- After each pressure, release the pressure, allow the chest to return to the initial position and do not remove the hands from the injured person’s chest; the duration of pressure and release should be equal.
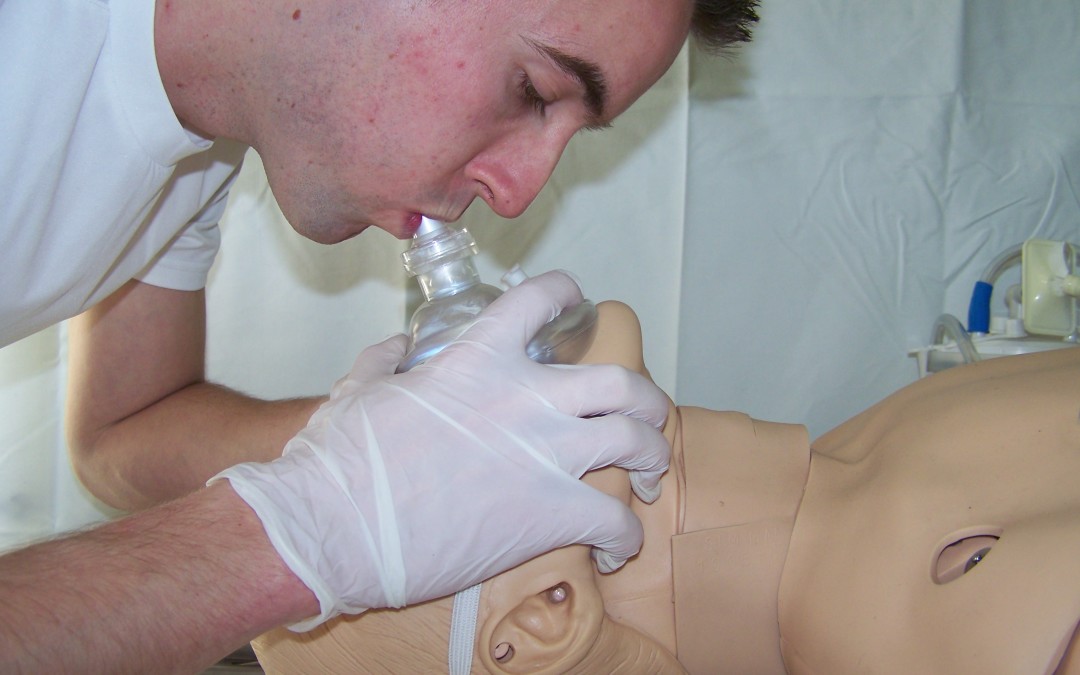
- Start artificial respiration:
- Open your airway by lifting your chin with your fingers and tilting your head back.
- With the thumb and forefinger of the hand holding the forehead, close the injured person’s nose. Then breathe normally and close the patient’s mouth, delivering air.
- Observe the rise and fall of the chest.
- Repeat the artificial respiration procedure.
- Continue alternating chest compressions and artificial respiration:
- Use a 30:2 ratio of chest compressions to artificial respiration.
- Repeat these actions until professional emergency medical help arrives.
- Continue until the injured person begins to breathe spontaneously or until signs of life are observed.
- Continue until they are exhausted. When more than one person providing assistance is present, one person should perform chest compressions while the other performs artificial respiration. If possible, roles should be changed every two minutes to prevent exhaustion.
If the person starts breathing normally or shows signs of life, stop the procedure.
If you are unwilling or unable to perform artificial respiration, focus on continuous chest compressions at a rate of 100-120 per minute.
If the chest fails to rise during ventilation, check the airway on the visible side before the next breath.


0 Comments